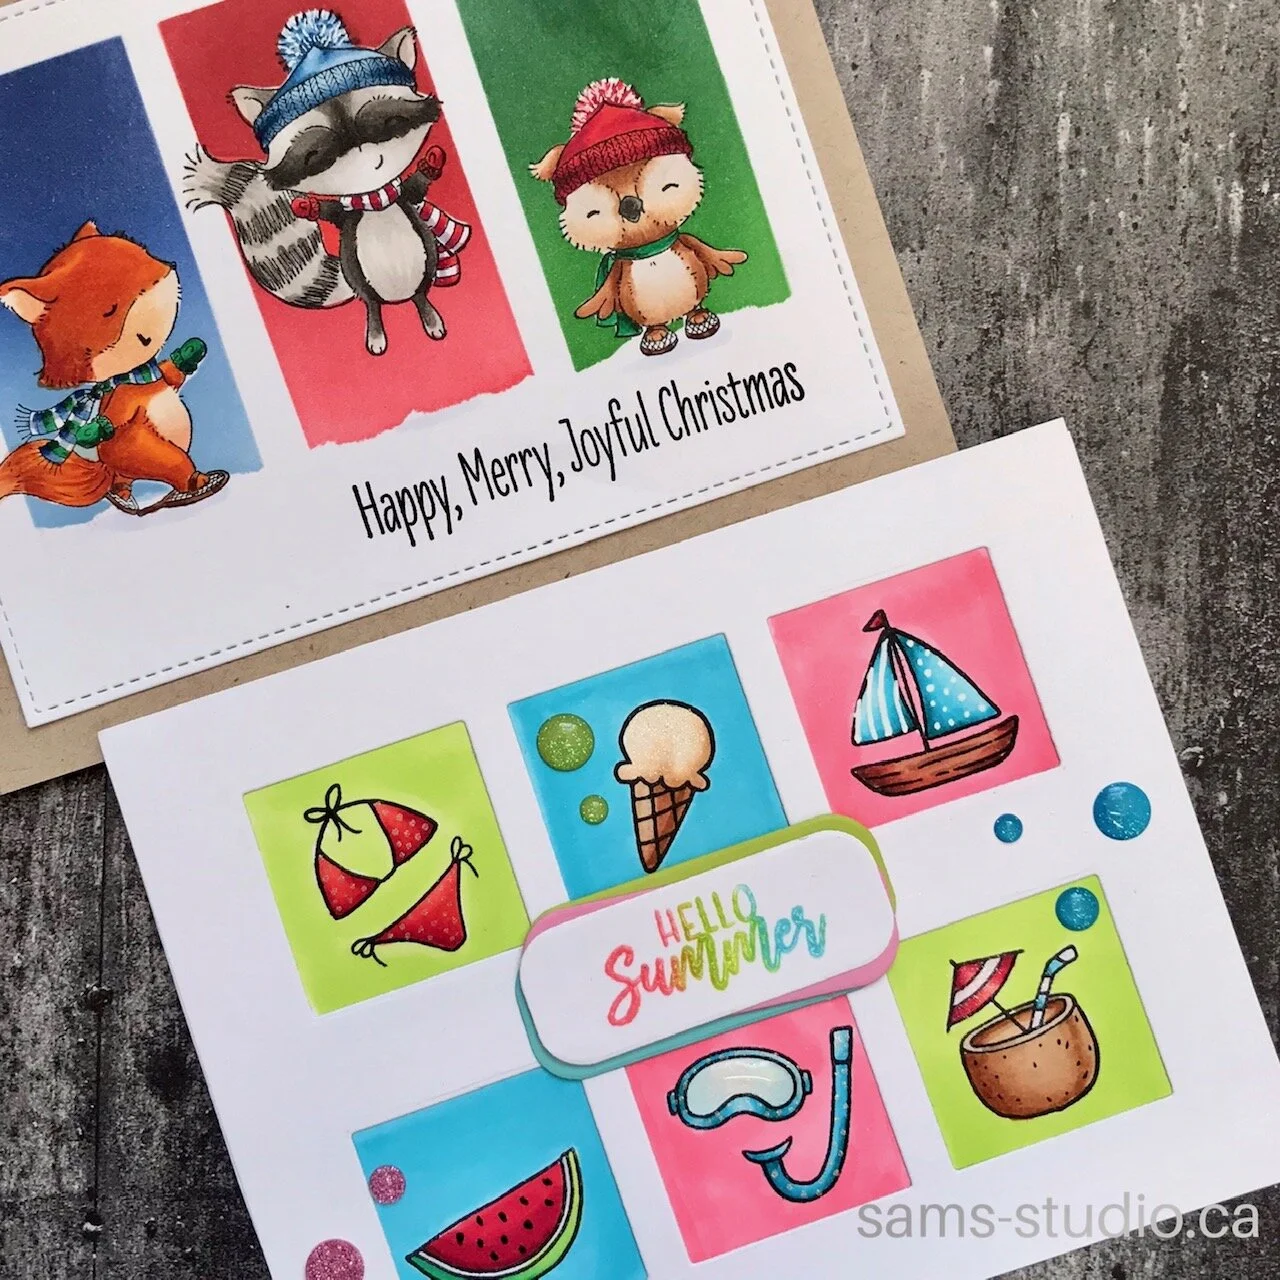
2 Ways to use Dies to Create Colour Blocks
/At first look you wouldn’t be able to see anything in common with these two cards. Other than they were both stamped and copic coloured. They don’t even relate seasonally. But what they do have in common is that I used the Simon Says Stamp Trio Window die to create the colour blocked areas on the card.

Get the look:
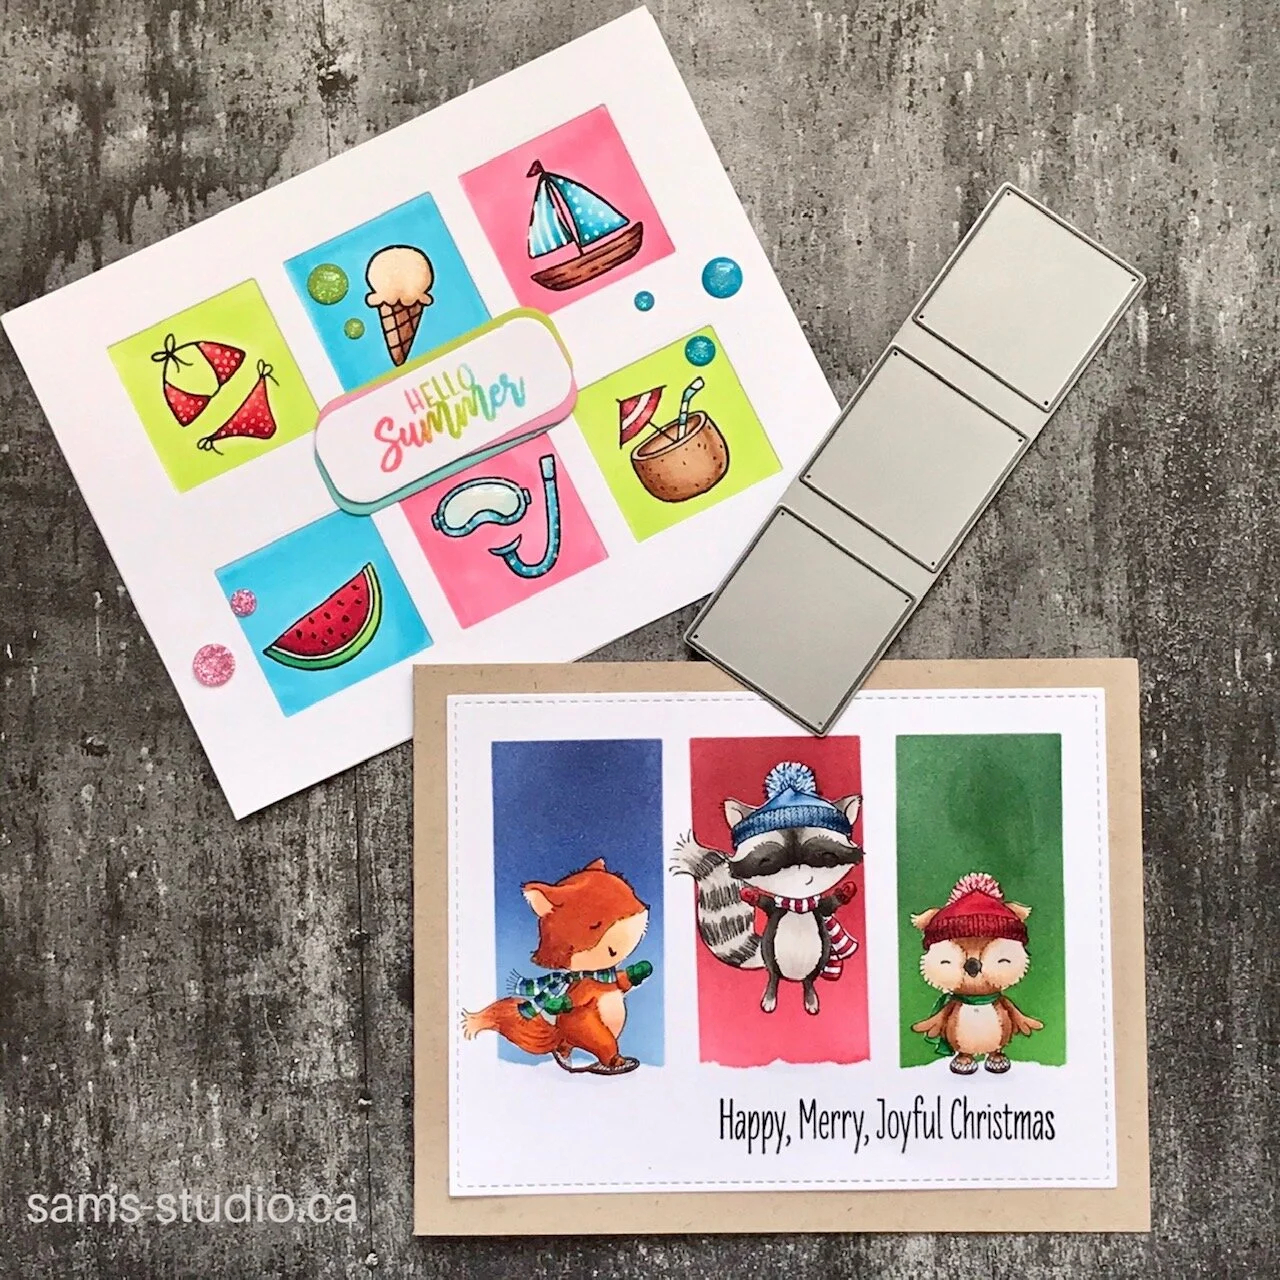
Start by cutting the windows in a A2 size card. I basically measured down from the top 1/2” and up from the bottom 1/2” with aid of a T square ruler.
Once frame was cut I took a pencil and lightly traced out lines of 6 square openings on a second A2 piece of card. This way I knew where to colour.
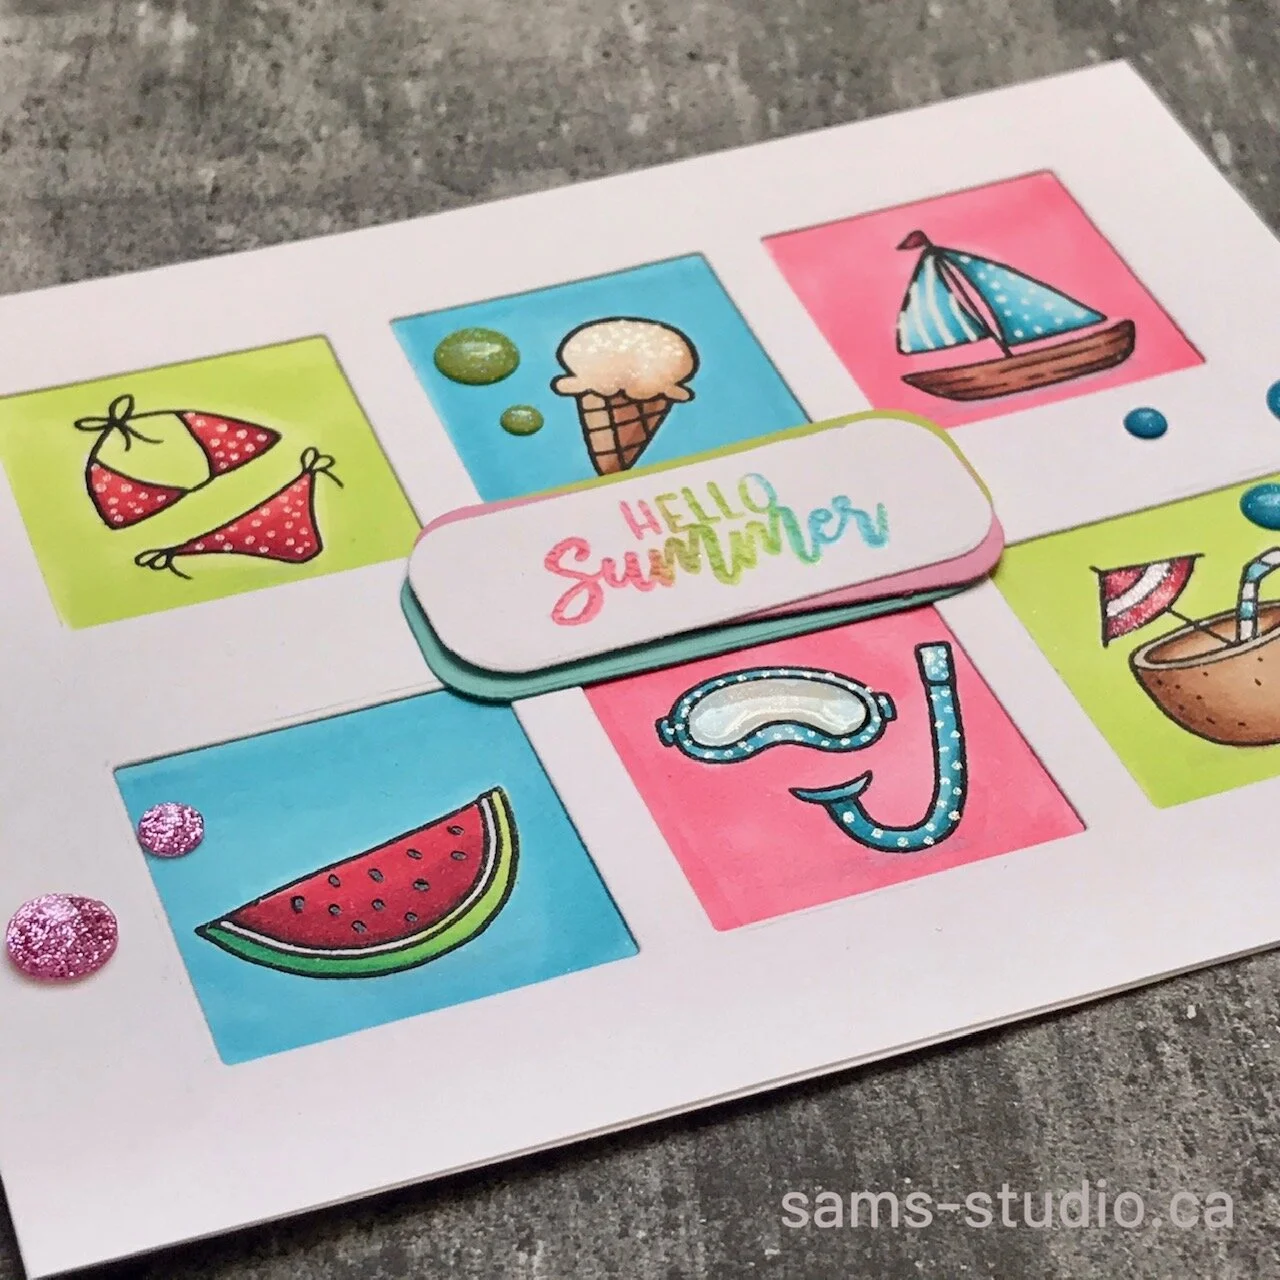
Then it was simply a matter of picking out which stamps I wanted to use. Thought these “Summer Icons” from Janes Doodles are perfect for these little windows. Stamping and colouring images with copics.
Since it was a relatively simple card I wanted to dress up the sentiment by embossing it in similar colours to the background colours.
Using the Misti allowed me to stamp the sentiment several times with different colour inks. Added a layer of versamark and clear embossing overtop.
Mounted the sentiment on several layers of somewhat matching coloured cardstock, then onto the card frame
And finally mounted the 6 window frame over the images.
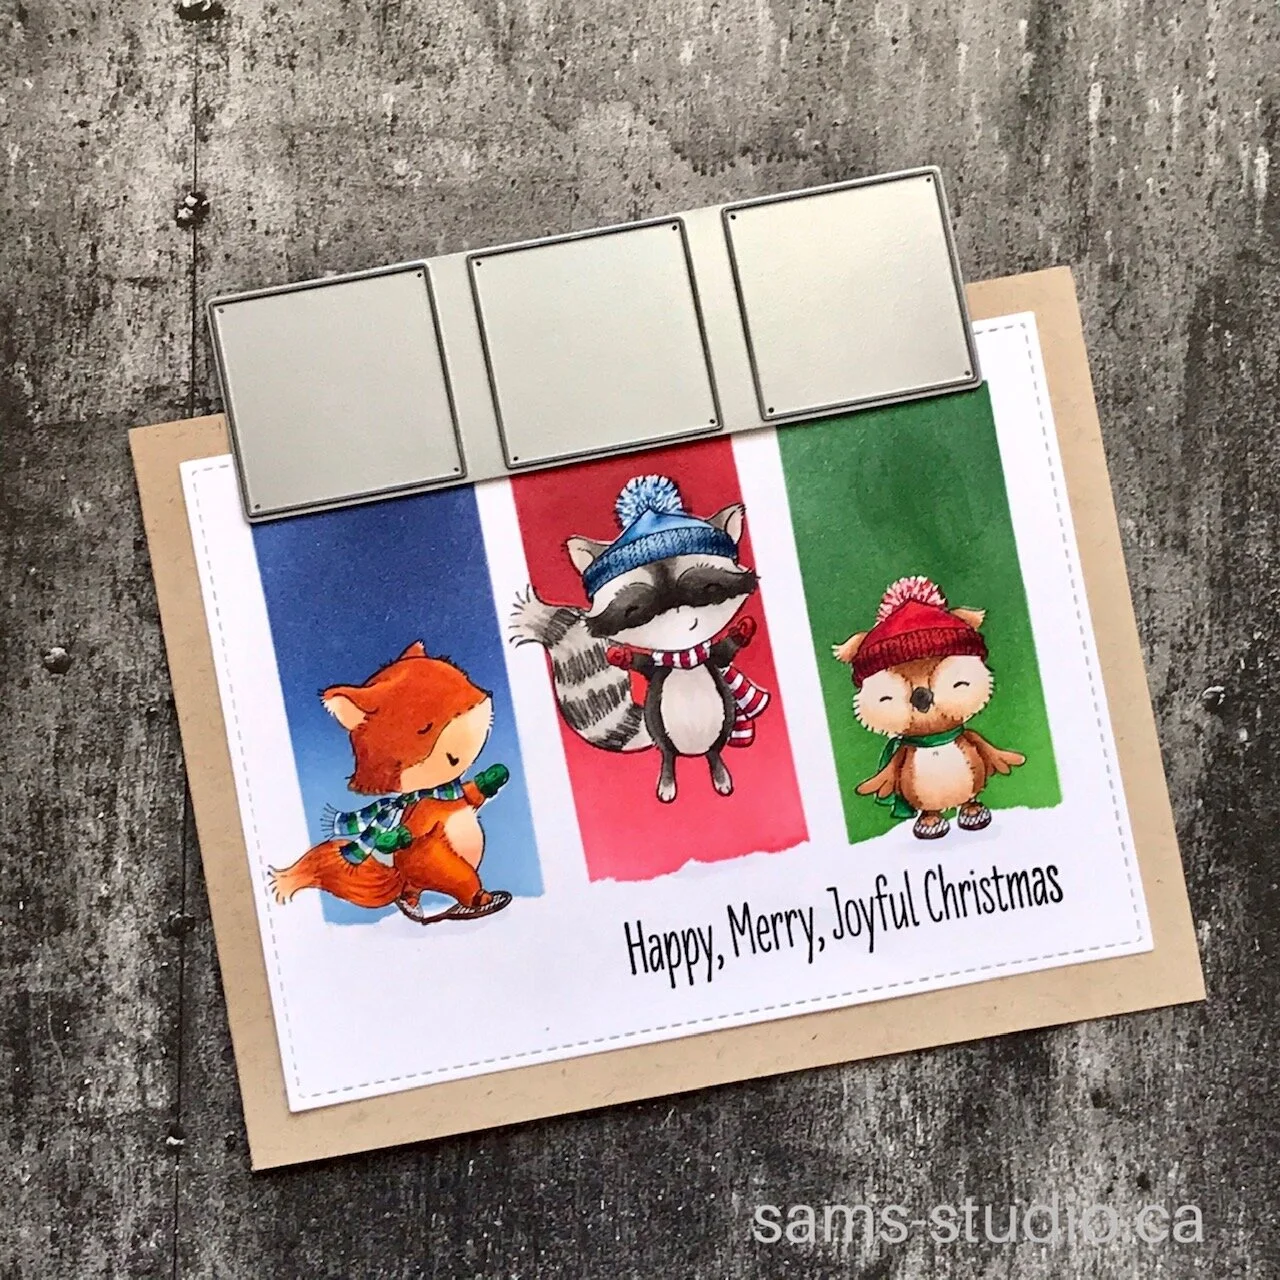
Get the look:
Started by cutting the frames out of 5 1/2” wide piece of cardstock to create a template with the 3 windows. Height only needs to be little taller than window frame die.
Place the window frame template over an A2 piece of card so that 2 cards line up horizontally.
Make pencil lines following the vertical edges of windows. This gives you perfectly spaced blocks, without the need to do any fancy math calculations. Then extend the pencil lines up and down depending on how long you want the colour block to be.
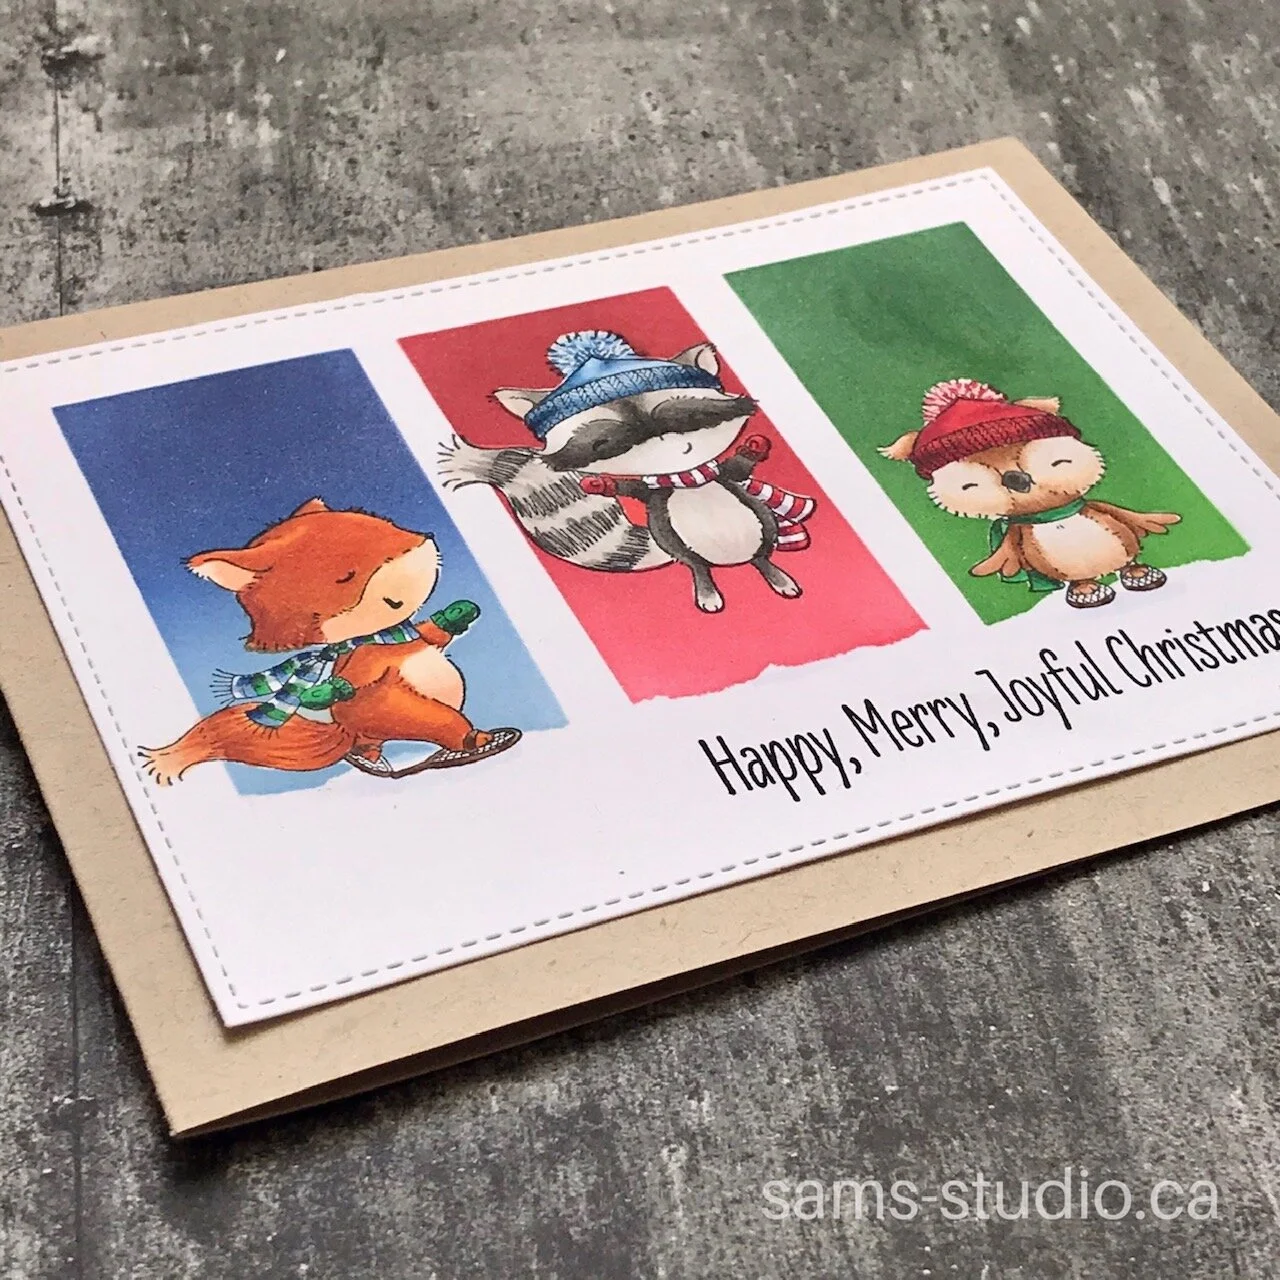
With pencil guidelines in place I can now position where I want the stamps . Since the Purple Onion Stamp’s are red rubber I usually use my Misti and do a test stamp on some clear acetate just to make sure they are lined up exactly where I want them.
Stamp the critters and mask them, ready for ink blending overtop.
Because I wanted the colour block to end with a soft fuzzy line that would convey the look of snow, I carefully torn along some masking paper.
Used post-it paper along the edge of the pencil lines to mask off each area and ink blended overtop.
Lastly all I had to do was to colour, add the sentiment and add to a kraft card base.