Your Next Stamp May Release Preview: Farmtastic
/Welcome to Day 1 of Your Next Stamp May Release. I am having fun playing with Farmtastic stamp set and the barn die which works perfectly with the set.
Each preview day, YNS will be giving away the stamp sets being showcased. Each individual set will go to randomly selected comments left on the YNS blog, YNS Designer’s blogs or YNS IG. Leave all your comments by May 19th at midnight EST for a chance to win one of the stamp sets, the winners will be announced May 20th on Your Next Stamps blog.
To find out the full details on the preview giveaway and to check out the other design team preview creations head over to Your Next Stamps Blog
Also after enjoying a few more days of the sneak peaks from the design team, the new release arrives at YNS online store on Thursday May 20th. To celebrate the release on Thursday there will be an instagram hop. Stay tuned for the details.
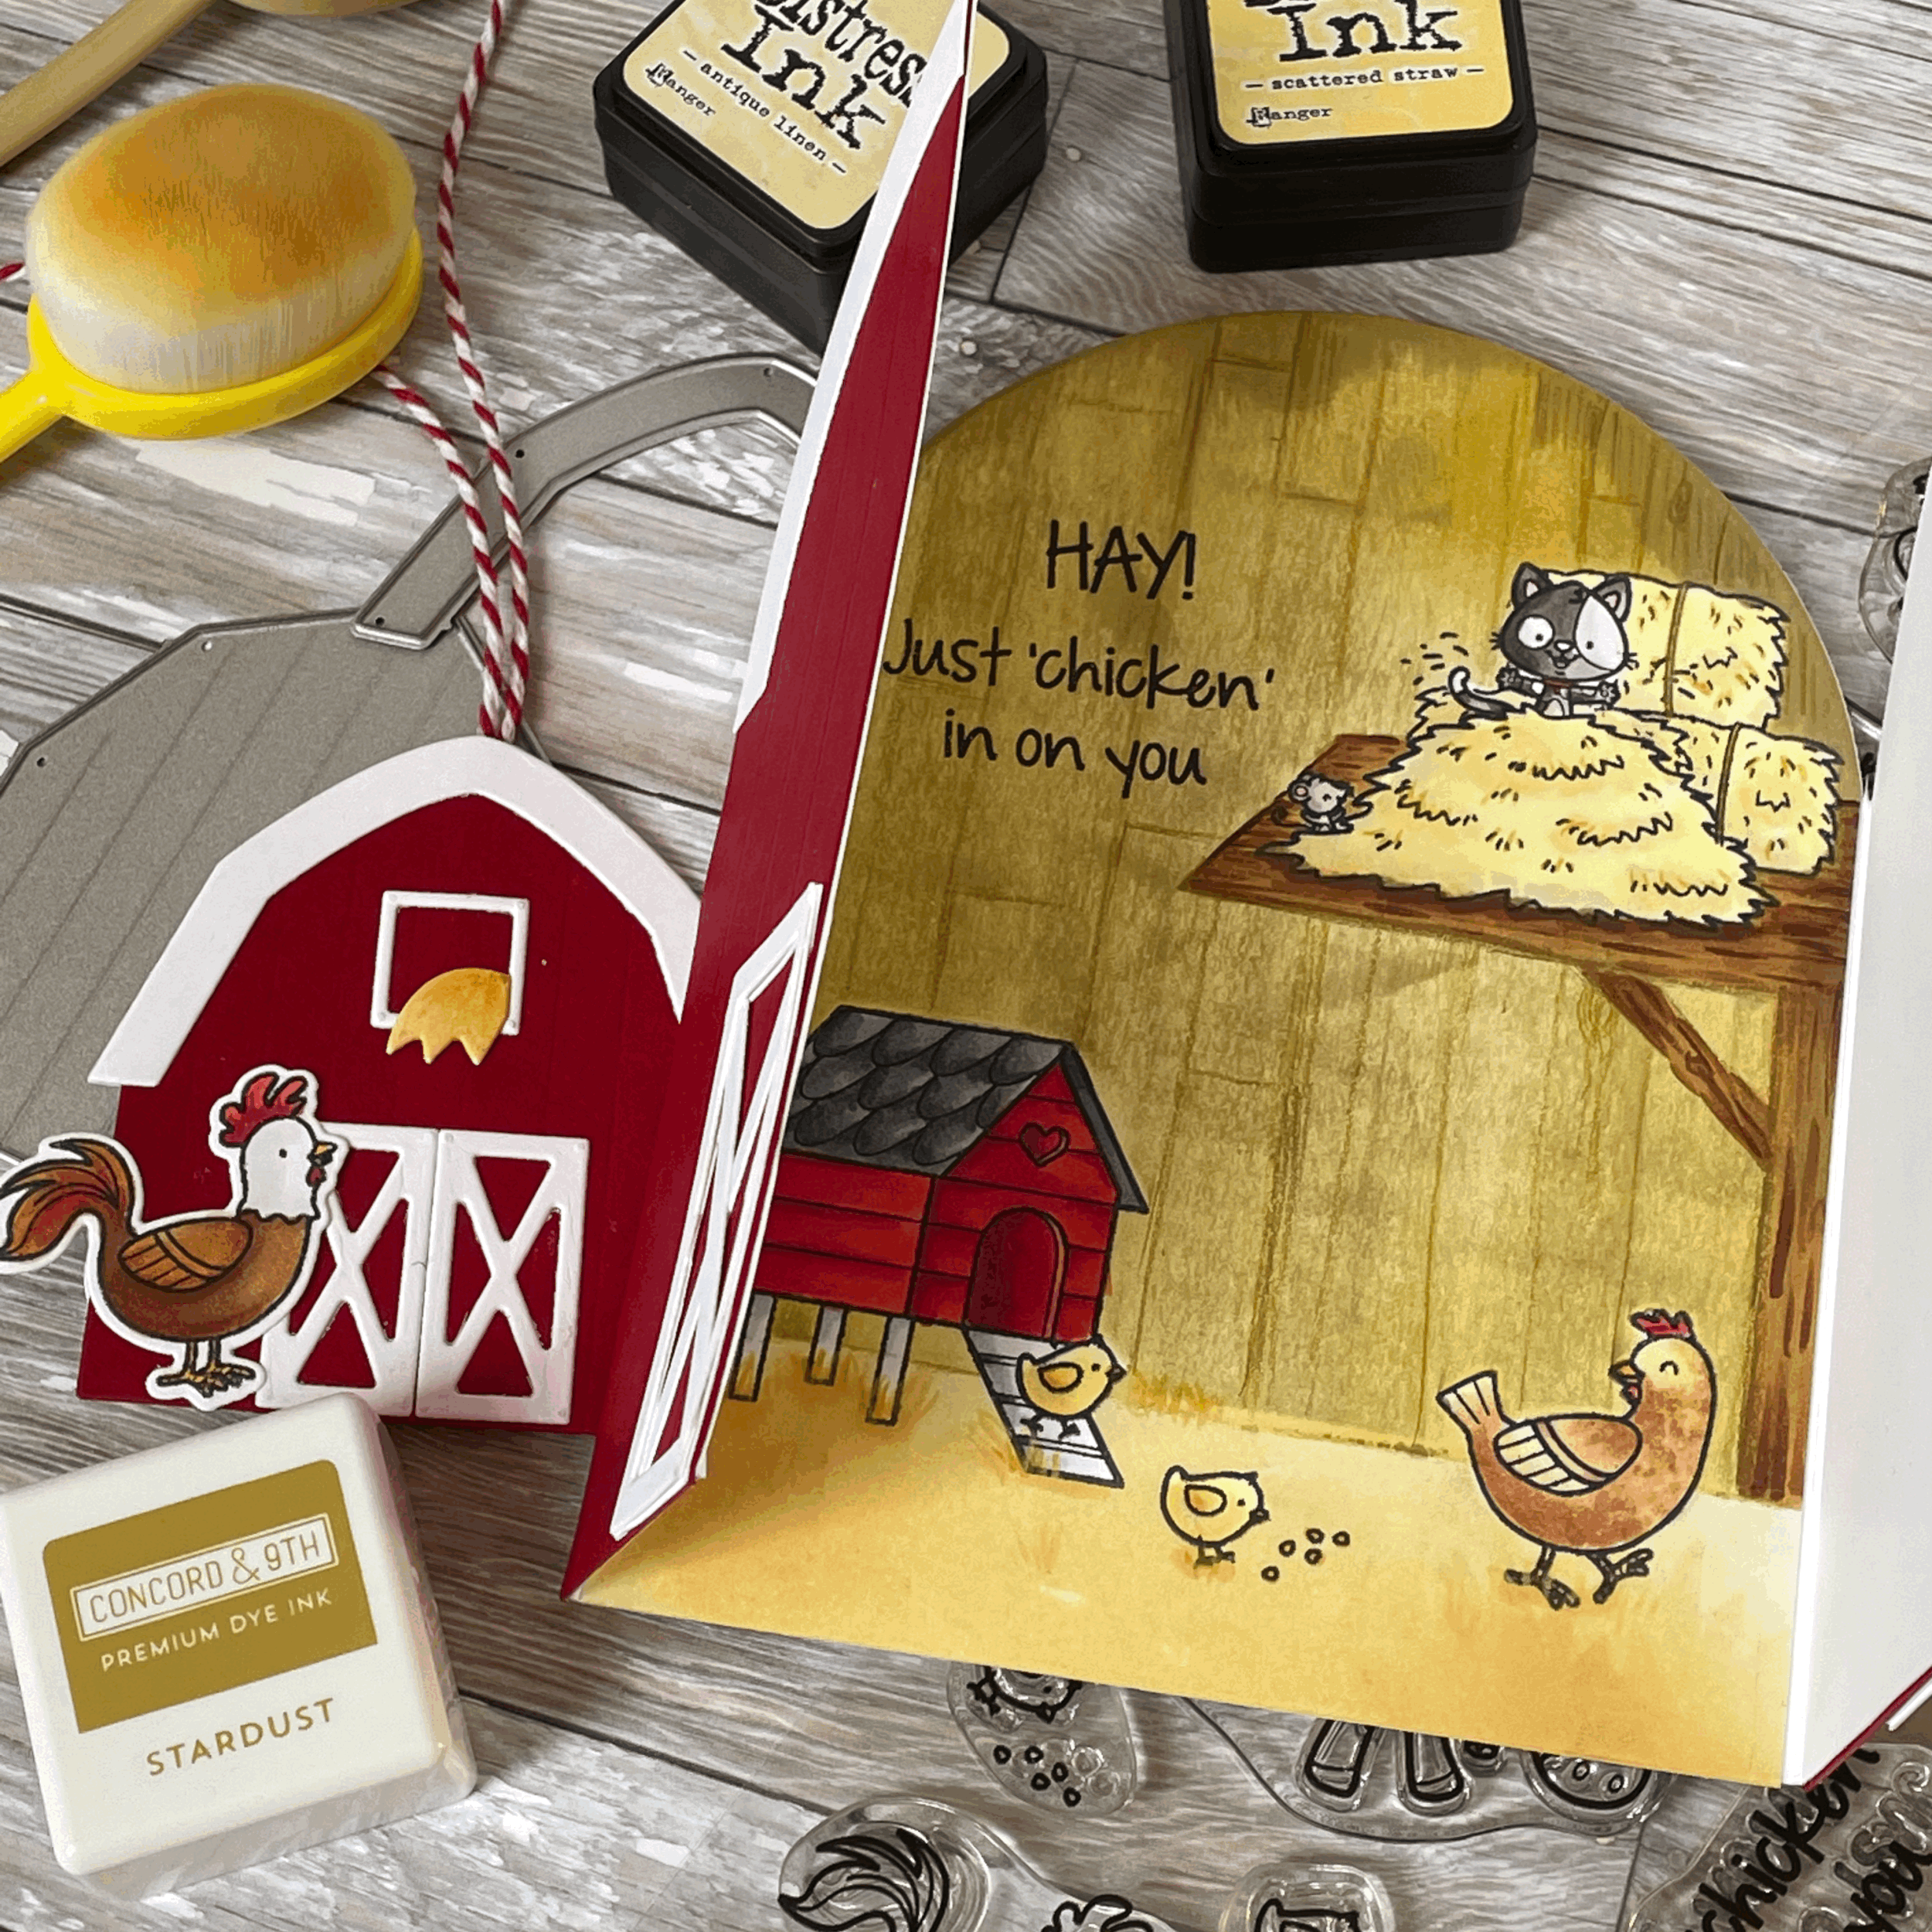
So the barn die is the perfect size to use with the farmtastic farm animals. However I wanted to sneak a peak at life inside the barn. So I recreated the barn doors for the exterior of my card and used the barn die to create a complimenting tag.
Get the look:
For the tag simply die cut out all the components and glue together. Die cut a 2nd barn piece to attach to the back of the tag for a nice clean finished look. Decorate with some of the farm animals in the farmtastic set.
Create the barn card base - cut card stock 8 1/2” x 5 1/2”. On 8 1/2” side, score 2 1/8” in from both ends and fold towards the centre. Using an arched die, die cut the folded card base. It may take a couple of passes with 2 layers of cardstock. If it doesn’t cut you can turn over card stock and die cut from other side as well. Alternatively if you don’t have an arch die, partially die cut a circle die at top of 5 1/2” side to get the rounded barn door shape.
Create the barn doors - Simply use the same arch (or circle) die on red cardstock that is 4 1/4“ x 5 1/2”. With score board, score lines to create the barn door texture. The smaller white barn doors are simply the window and sill from the Spring Window Die Set that have been modified. Cut out the internal frame, add the sill for the cross pieces and trim excess. Cut the barn door panel in half and attach to the card base.
Die cut an arch for the internal panel. Stamp out the scene, and mask components.
Mask off a portion at the bottom of the scene to be floor. Now this is a neat trick I learned in a Gina K class. Take an ink cube and swipe down the panel top to bottom to look like wood panels. In addition to the swiping, ink blend a similar shade over top and add some pencil for additional definition to the wood panels.
Enjoy colouring the scene. Add sentiment.
You will probably have to trim a strip off the sides of the scene panel before adhering to base. This will allow the front barn door panels to close nicely over the scene. Attach scene to base.
Supplies:
Your Next Stamp - Spring Window Die Set
Your Next Stamp - Happy Hay Rides
Your Next Stamp - Farmtastic (available Thurs, May 20th, 2021)
Your Next Stamp - Barn Die (available Thurs, May 20th, 2021)


