Your Next Stamp Christmas Release SpotLight: Dino-mite Holiday
/Here we are at day 2 of Your Next Stamp’s Christmas Release. This release Your Next Stamp is changing it up and showcasing the new products which are already available in the online store. There is also 2 chances to win a $25 egift card to Your Next Stamp online store. Details can be found at the end of the blog.
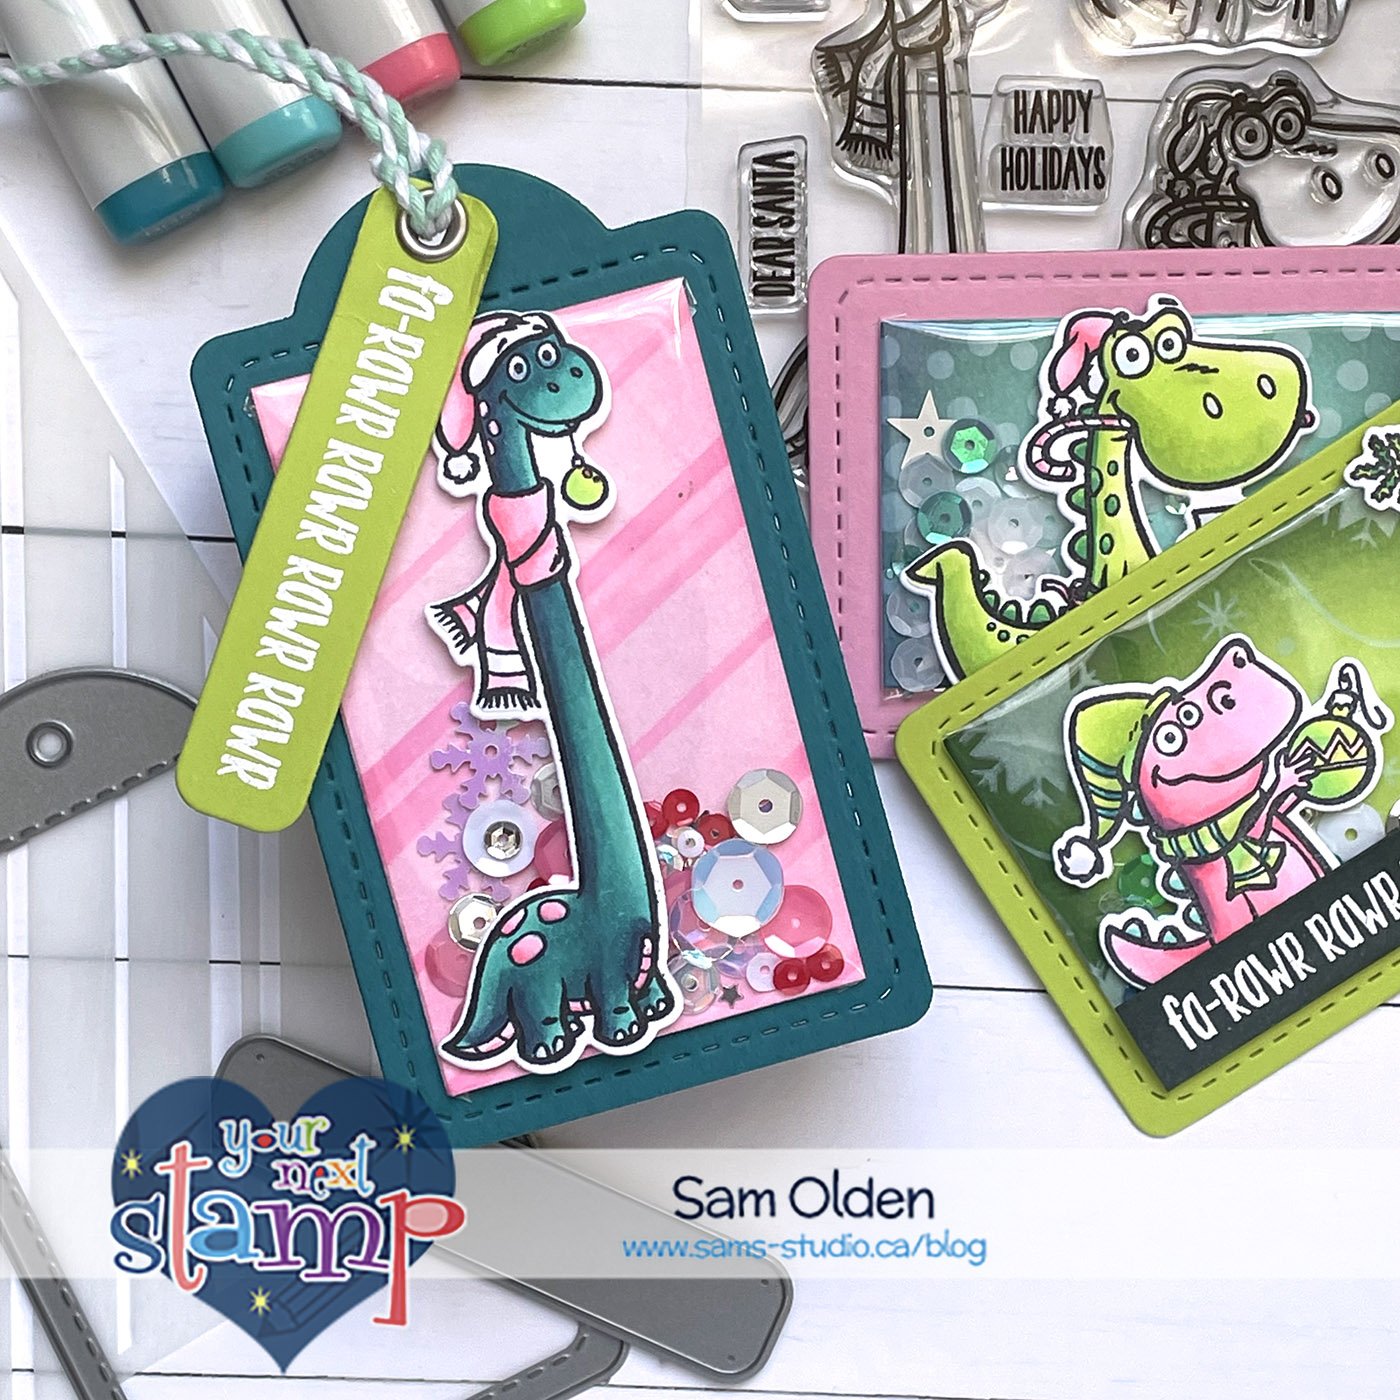
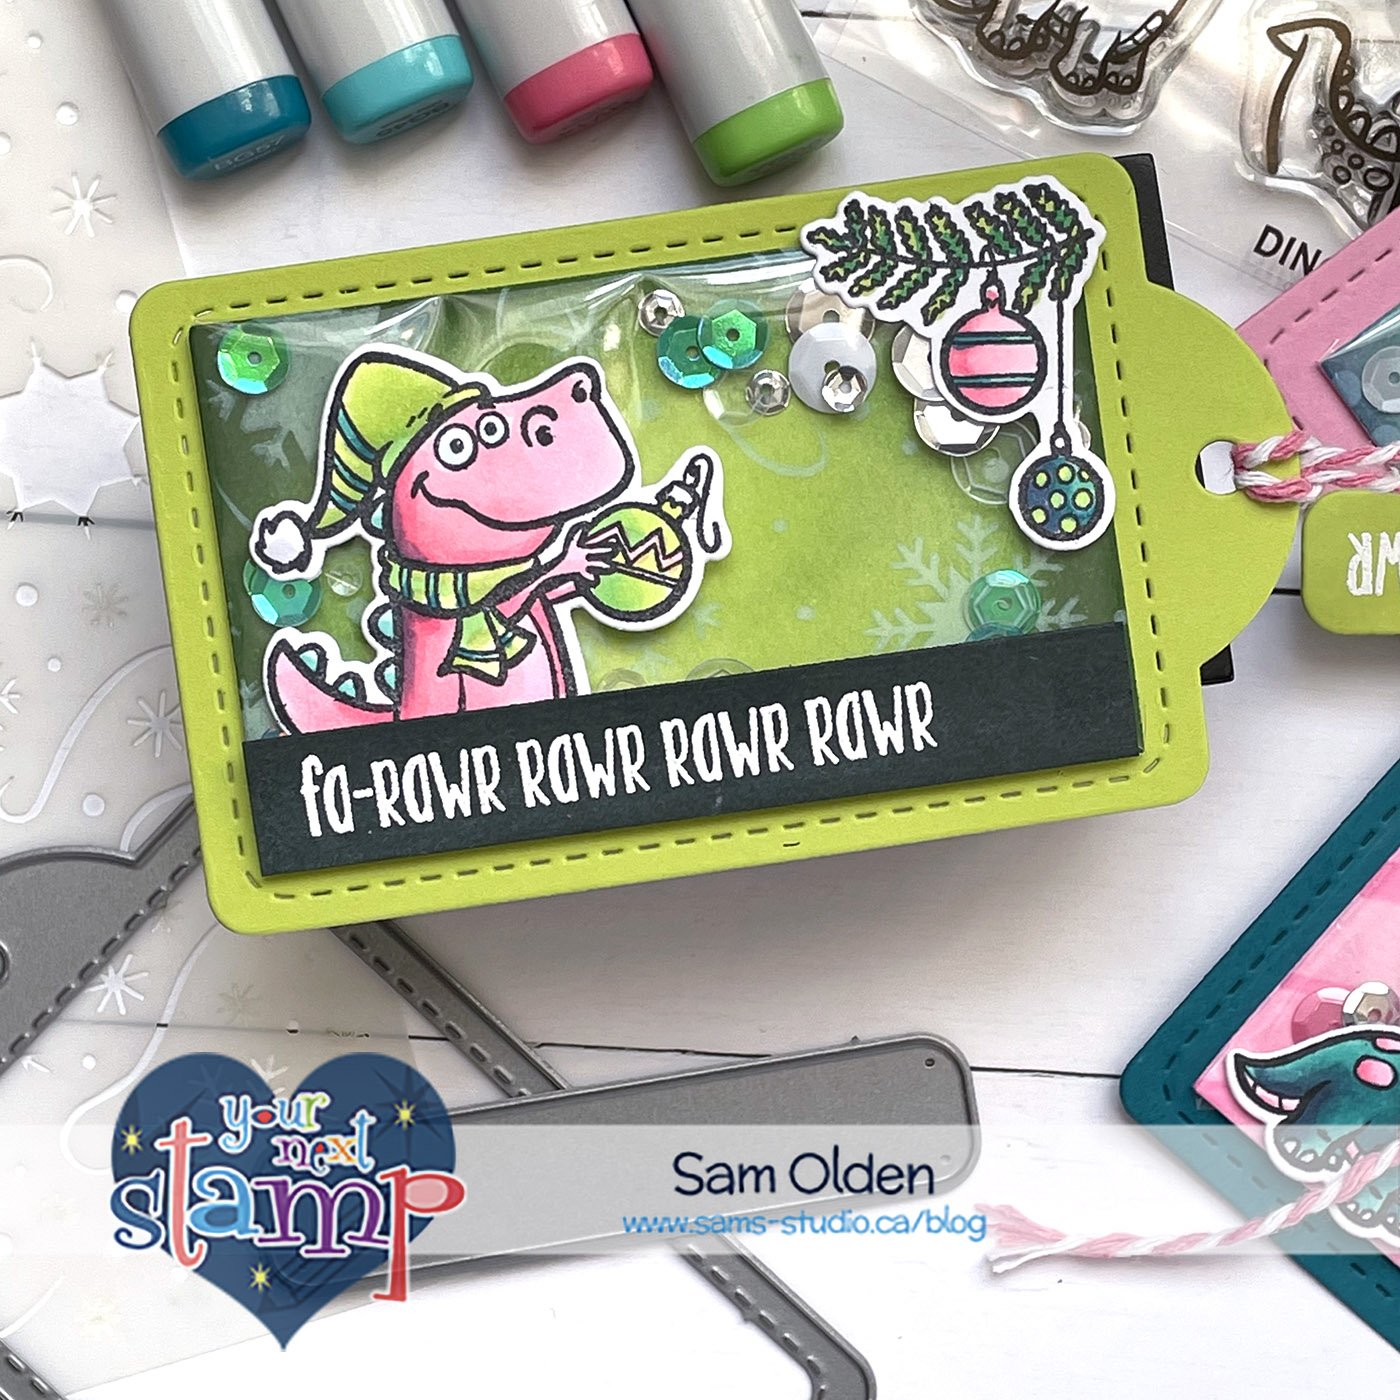
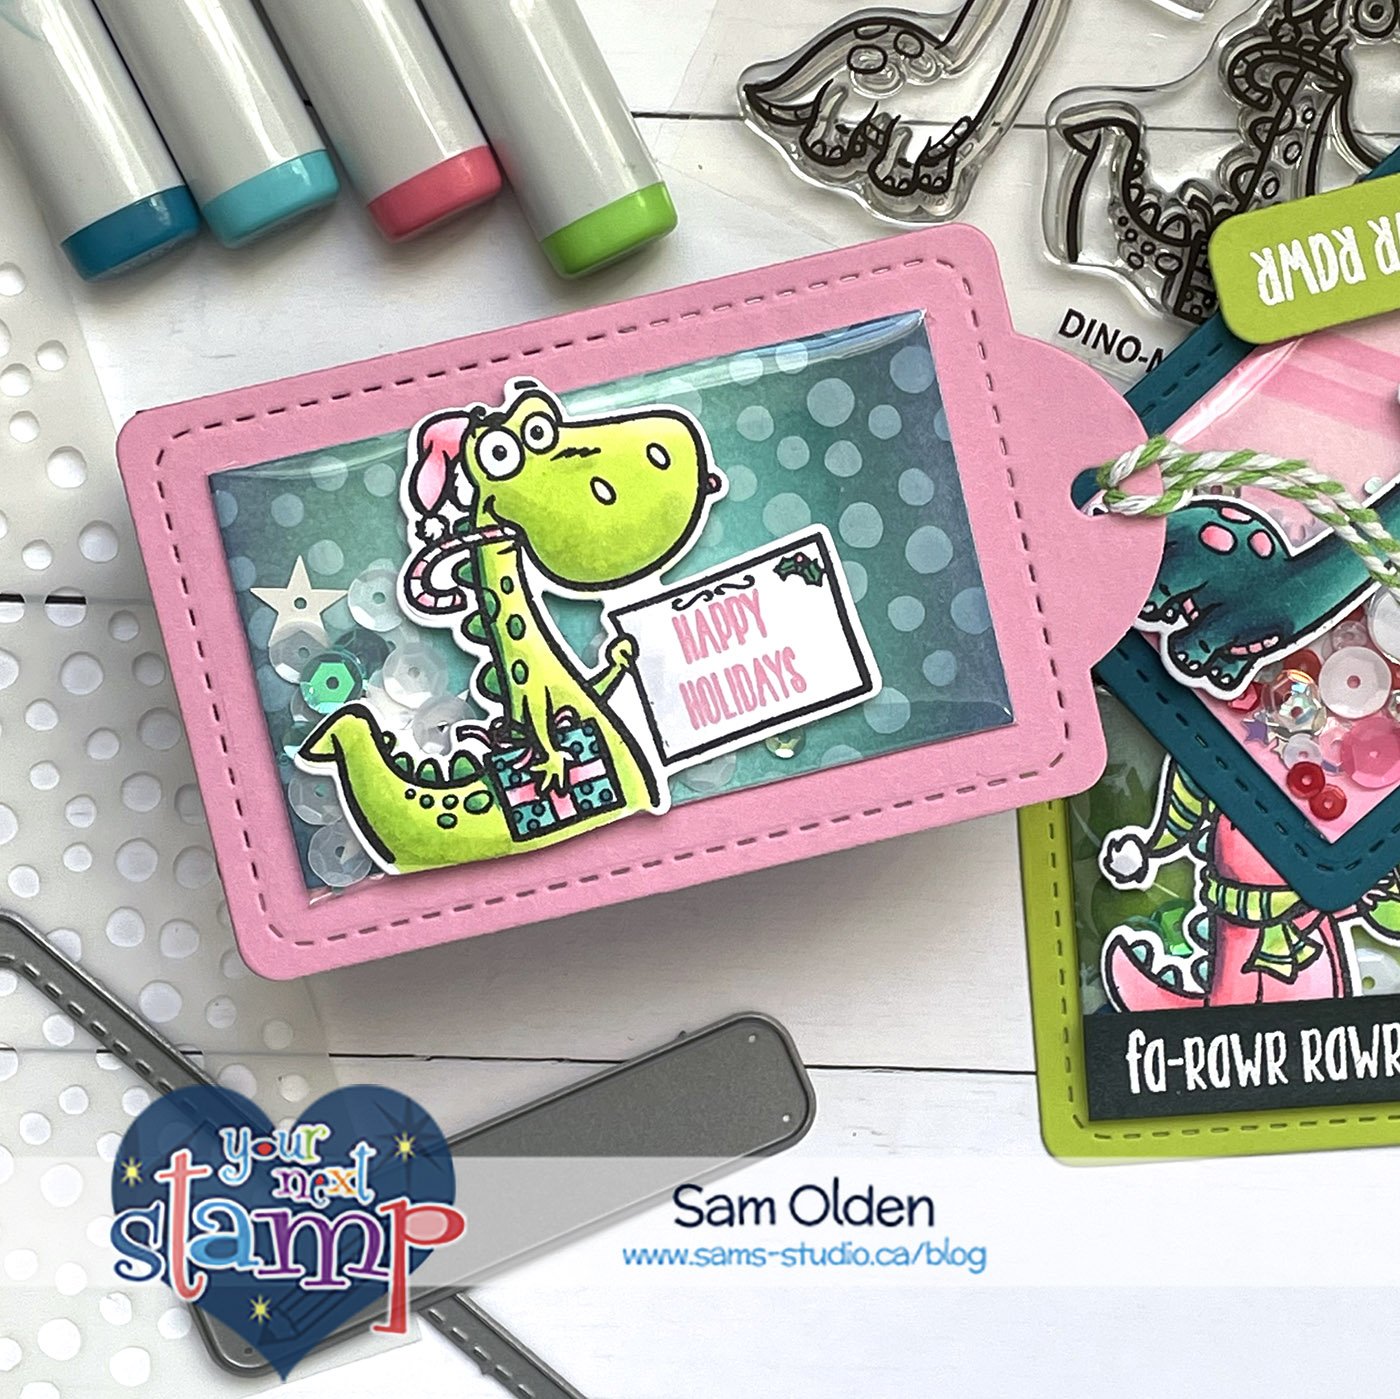
In addition to making lots of cards for the holidays, I also enjoy making gift tags. I thought it would be fun to try and take the trendy edge to edge shaker, also called infinity shaker and shrink it down to gift tag size.
Get the look:
Prep Work
For a project like this I always like to work out in advance the colour palette, pulling out the colour card stock, inks and marker blends. Just to make sure that they all play nicely with each other.
In this case I went with bright green, bright pink and turquoise.
Die cut out 3 tags using Cool Tag Six.
Using either a rectangle die or paper trimmer, cut a rectangle that fits within the stitching on the front of the tag.
Stamp, colour and die cut out the dinosaurs from the Dino-Mite Holiday set.
Stamp and emboss sentiments.
With a blender brush, ink blend colour over the rectangle pieces of card stock.
Then apply a stencil over top and either ink blend additional colour as in the case of the Holiday Stripes stencil or white pigment ink like for the Snow Flurries and Snow Ball stencils.
Now to create the shaker element. Find some plastic packaging that is about 1/4” wider on each side of the ink blended card panel.
Add adhesive tape on all 4 sides of the backside of the card panel, but you could add it to the plastic packaging instead.
Remove adhesive backer and attach 3 sides of the plastic to the card panel. While attaching the sides, trim the excess plastic at the corners to remove some bulk. Just be careful not to trim too close to card panel so that you end up with a hole in the corner.
Leave one side open and add sequins. Stick to things that have a fairly flat profile. Remove final adhesive backer and seal up your last side. I was impressed with how well all the glittery bits moved around even thou its a fairly flat shaker.
Add the shaker panel to your tag.
Adhere your dinosaurs and sentiments ontop of your mini shaker panels.
Lastly thread your twine or ribbon through your tag hole.
Chance to Win:
For a chance to win one of two $25 egift cards to Your Next Stamp online store leave a comment here and then head on over to my instagram and comment for a second chance to win. Comments left on Your Next Stamp blog, designers blogs, Your Next Stamp Instagram and Designer’s IG posts through 11/21 at midnight EST will be entered in a draw to win a $25.00 egift card. One winner will be pulled from comments left on blog posts and a second winner will be pulled from comments left on IG.
Winners will be posted on Your Next Stamp blog and tagged on IG on 11/22. To find out the full details on the giveaway and also to check out the other design team and guest creations head over to Your Next Stamps Blog
Supplies:
Your Next Stamp - Cool Tag Six Die
Your Next Stamp - Dino-Mite Holiday Stamps & Dies
Your Next Stamp - Holiday Stripes Stencil
Your Next Stamp - Snow Flurries Stencil
Your Next Stamp - Snow Ball Stencil


